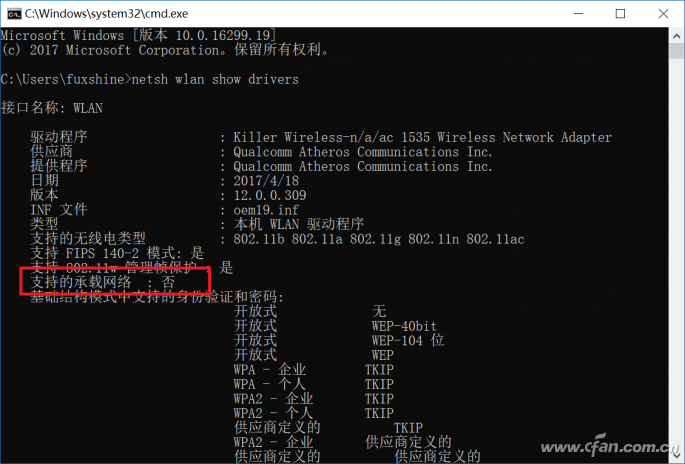
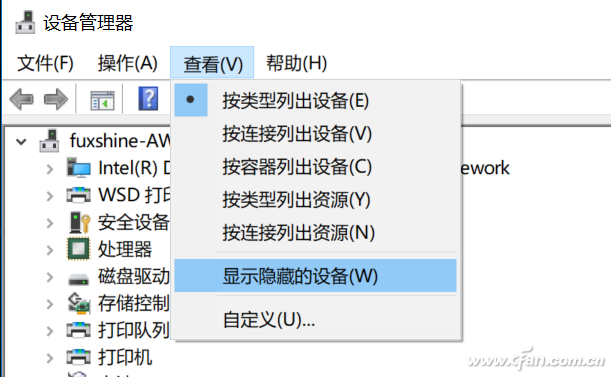
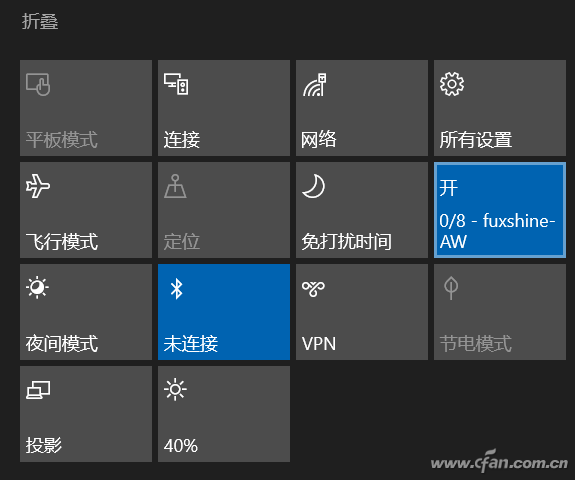
After a partner upgraded their system to Windows 10, they mentioned that the computer was unable to create a mobile hotspot. Xiao Bian received limited information from the message and had to investigate step by step. While sitting in front of the phone screen, he used a small notebook to jot down notes. Although Windows 7 also had its own hotspot sharing feature, it required several steps to set up. Unlike Windows 10, where you can simply click to enable it, many users opted for third-party tools to share their WiFi connection (including using the computer’s standard network card at the time). Since such functionality wasn’t built-in, when the user couldn’t use Windows’ native hotspot after upgrading, the first thing to do was open the Command Prompt by pressing Win+R and typing "cmd". Then, enter the following command: Netsh wlan show drivers This checks whether the network card supports hotspot sharing. If the result shows "No" under "Supported Bearer Networks," it means the device cannot create a mobile hotspot. In that case, using a third-party WiFi sharing tool might be necessary. If the network card is supported but the personal hotspot still doesn’t work in Windows 10, go to the Device Manager. Right-click on the Start menu and select "Device Manager." In the Device Manager window, click on "View" and check "Show hidden devices." Look under "Network Adapters" for a device named "Microsoft Managed Network Virtual Adapter" or something similar like "Microsoft Virtual Wi-Fi Miniport Adapter" or "Microsoft Wi-Fi Direct Virtual Adapter." These are often hidden. Look for any device with the word "Virtual" in the name. Right-click the device and check if there's an "Enable" option. If so, click "Enable" and restart the computer. If not, choose "Update Driver" and restart. After logging back in, you should be able to create a mobile hotspot from the lower-right corner of the taskbar. Jinan Guohua Green Power Equipment Co.,Ltd. , https://www.guohuagenerator.com


August 07, 2025